Saturday, January 31, 2015

Amazing Glitter Tree

ElizabethCraftDesigns.com


Amazing dies and all from Elizabeth Craft Designs

All Seasons Tree - Arlene is in her glitter phase.  And I do mean glitter!
 Elizabeth Craft Designs All Seasons Tree with snow flakes
Elizabeth Craft Designs Best Wishes die-cut above
Elizabeth Craft Designs adhesives here  I happened to have the 5" X 5" sheets
I just love the two leafy die-cuts.  They will be great for clouds too.

Elizabeth Craft Designs Best Wishes die-cut below

Visit Arlene at A Bit of This and That

Friday, January 30, 2015

Thursday, January 29, 2015

A little more inspiation from Michelle

Michelle has a few cards to share today-


Using Elizabeth Craft Design Oval Accordion and Oval Flourish Frame Edge, Unity Stamp Co. (all stamped sentiments and images) Bazzill & My Mind's Eye paper


Elizabeth Craft Design Accordion Oval Card Dies,  Penny Black background stamp Mystic Connections, Heidi Grace Wedding Stamps, Mark's Finest Papers sentiment stamps, Versafine Black Onyx ink, Red colored pencil, Glossy Accents, Platinum Stickles. 

and finally one awesome sample

Elizabeth Craft Design Rose die, Spellbinders M-Bossiblilties Label 18, Wausau gold shimmer paper, DCWV Shimmer stack (Cream, Brown), Offray cream ribbon

Thank you Michelle for providing some stunning samples using Elizabeth Craft Design products.  

ElizabethCraftDesigns.com

Wednesday, January 28, 2015

Some glitter and Shine

ElizabethCraftDesigns.com

Arlene had a great time coloring the lighthouse, shell and nautical bell with Copics right over the Silk Microfine Glitter.  She thought of checkered table clothes in little seaside restaurants and looking out at a blue sky and lighthouse when creating this card.


To see close-ups, visit A  Bit of This and That.

The Die Cut Divas

Monday, January 26, 2015

A Holiday House

 ElizabethCraftDesigns.com

Marsha has made us a delightful card today using The Holiday House die (here)

By omitting the Christmas lights... Marsha has made a lovely little house scene.

If you'd like to see another example of the house.. hop over to Elizabeth Craft Designs blog post...here
 
Loving all your beautiful entries

Dawn and the Divas

Saturday, January 24, 2015

Owl card from Arlene

Look at this cutie from Arlene


 Elizabeth Craft Designs Owl & Prop 1
Owl & Prop 1 (glasses)
Washi Tape
Hero Arts sentiment from OWH LIL HOOT


Inside of Owl card (Birds & Trees from Elizabeth Craft Designs)
Elizabeth Craft Designs Lots of Pops 
Elizabeth Craft Designs Birdie
Elizabeth Craft Designs Evergreen Pivot Card - trees in the set
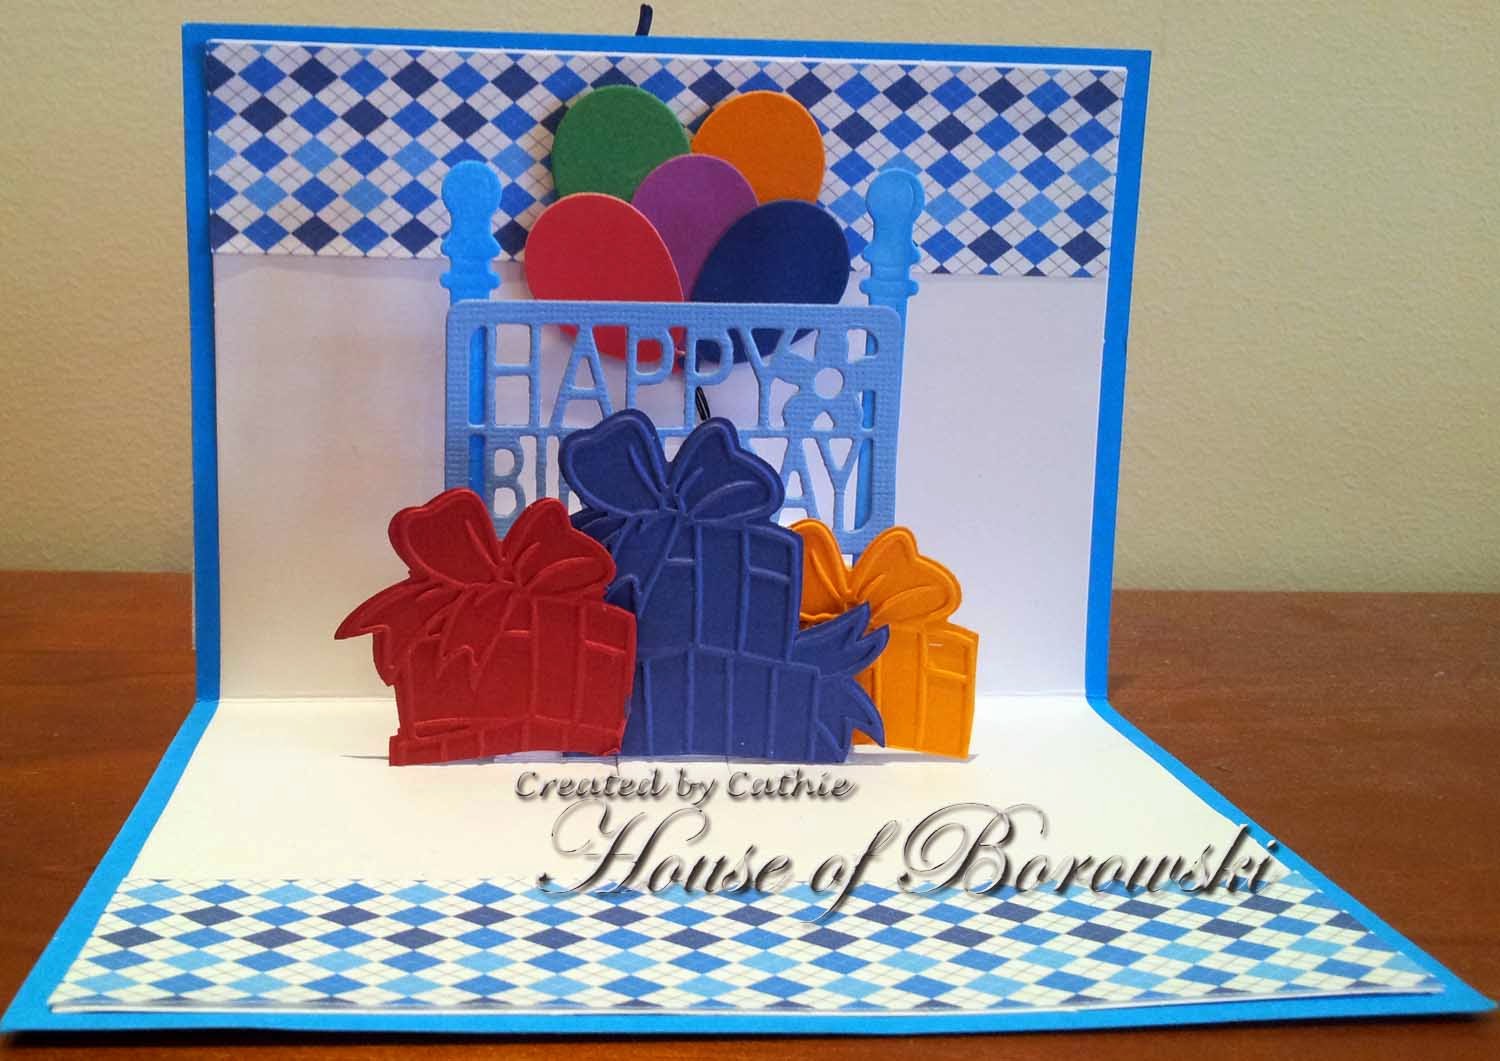
Elizabeth Craft Designs Happy Birthday

Arlene's granddaughter is now the proud owner of this card. 
Dawn and the Die Cut Divas


Wednesday, January 21, 2015

A Pair of cute Penguins

Our Cathie has been busy with a pair of cute penguins


Elizabeth Crafts Design Ring Accordion Die, Chilly the Penguin, Happy Birthday
Couture Creations Scalloped Circles Nesting Dies, Gloss Accents and Gems to sparkle her up with.

Diecut Divas, Elizabeth Craft Designs

Elizabeth Crafts Design Ring Accordion Die, Chilly the Penguin, Happy Birthday
Spellbinders Nestabilities Standard Circles Small.

Thanks Cathie for these delightful cards. 

Monday, January 19, 2015

Some more from Kelly

Hi

Thought I'd share a few more of Kelly's beautiful work.


Isn't Kelly so talented.  Do hop over to her blog (Live The Life I Color)

Thanks Kelly for being our fabulous guest this month.

Thursday, January 15, 2015

Introducing this month's guest..... Kelly Booth.


We are very excited to have the extra-ordinarily talented Kelly Booth.  Kelly designs for Elizabeth Craft Designs.

My Photo
 So Divas, let's get us to know Kelly.


  • Tell us a little about yourself  ? 
 I Live in Arizona with my husband and our 15 year old dog Xenia.  I have two grown daughters and three adorable grand children that I adore. When I'm not paper crafting I love to cook and be outdoors.

  • How long have you been a card maker/scrapper & when did you start? 
 I started stamping in 1986 and bought my first stamp at Knott's Berry Farm in California.

  • Do you follow sketches or dive right in? 
 I'm not one to follow sketches I just jump right in after getting an idea in my head!

  • How many projects do you make a week?
 I usually make 4 projects a week sometimes more.

  • What is your favorite tool (what can't you create without) & why? 
I would have to say my favorite tool are my copic markers since I use them on almost all projects.

  • What at the moment is your most favorite thing to do on your project? 
Definitely die cutting I'm addicted to dies!

  • How would you describe your style? 
 I'm not really sure I have a style?  I Love color and usually include bold colors on my creations.

  • What about your style would you change (or not) & why? 
 I wish I could do clean and simple, I tend to put too much into my cards.

  • Have you been published or on a Design team - when & where? 
I'm currently on the Karen Burniston Design Team and Purple Onion Designs.  I was on the Elizabeth Craft Design Team last year. I submitted one time to Paper Crafts and was published and years ago once in Paper Crafter.

  • Describe your crafting area?  
One word MESS!!!  It's a small room that needs organized in the worst way, i just have too much stuff!


(I can relate to that Kelly!)

  • Do you have a blog? If not where can we see more of your fabulous creations? 
You can see more of my creations on my blog at  http://cruzinkellster.blogspot.com/

And Kelly has done an amazing sample for us, using some new dies available from CHA this year....


Isn't this cute.

You can also see more of Kelly's work at Elizabeth Craft Designs

Thanks heaps Kelly for sharing with us.

Dawn and the Divas.

Saturday, January 10, 2015

New Baby card with Peel Offs

Here I am today to sharing another card using Elizabeth Craft Design Peel Offs.


Arlene kindly added some ultra fine glitter to the peel off and I then coloured with Copics and cut out.  I embossed the background and added the ducky.  The sentiments are from a Fiskars set.

Do hop over to Elizabeth Craft Designs to see the peel offs that are available.


Thursday, January 8, 2015

A little Penguin comes to play

Today I am sharing a couple of little Penguin cards.

First up is Marsha's easel card


The little penguin can be found here.
Isn't he super cute!

And here we have Michelle's card-


Michelle used the same little penguin die together with Lawn Fawn Hillside Stitched Dies, Darice snowflake embossing folder and some Wink of Stella clear.

Thank you ladies for sharing this cutie with us.

Dawn and the Divas

Monday, January 5, 2015

Elizabeth Craft Designs PEEL-OFFs

If you've never used these peel-offs, you'll be pleasantly surprised with the variety of peel-offs and what you can do with them.  I didn't know what I was missing until I took a class from Elizabeth herself.  Now peel-offs and the silk microfine glitter are a MUST.

Elizabeth (Els) taught a class at my local stamp shop and she is a fun teacher and patient (YEAH).  You should park your chair on Youtube to watch her videos too.

Here is a card I made with the peel-offs and a step-by-step tutorial that I made using Silk Microfine Glitter and Peel-offs.  I think Elizabeth does a fantastic job of showing you how to use the double-sided adhesive, peel-offs and glitter here.


Elizabeth Craft Designs Peel-Off stickers (Lighthouses)
Elizabeth Craft Designs Transparent Double-sided adhesive (6: X 6")
Elizabeth Craft Designs Peel-Off stickers (Seashells)
Elizabeth Craft Designs Peel-Off stickers (Rainy Day - the raindrops)
Elizabeth Craft Designs embossing folder (Spring Leaves)
Warm Diamond Silk Microfine Glitter
Copic Markers colored on top of the glitter

I only used the raindrops on the outside of this card, but I had already cut and colored the marvellous lighthouse, shell and crab.  I wanted to show you how easy this is to do.
I cut the Elizabeth Craft Designs Transparent Double-sided adhesive (6: X 6") down to a size I wanted to handle (below).  See how you can peel the adhesive easily.

 Choose the Peel Off you want to work with

1.  Peel off the sticky side and put out of the way so you don't get anything stuck to it.  The sticky white strip below is just to show you the two pieces taken apart.  I wouldn't leave it there at all.
2.  Pick up the outline of the piece(s) you want to use and place them on the non-stick side as seen below. You can use your fingers or a tweezer to pick them up.  It is easier to move the peel offs with a tweezer once on your non-stick sheet.  As you can see, the white spots in the black peel off sheet are where I picked up the outlines. 

3. Place the sticky sheet onto the non-stick sheet which is on the table.  Run your fingers over the top so everything is smooth and all transferred.  I couldn't hold my camera and put the sticky sheet on the non-stick sheet with the peel offs, so I'm showing you what it looks like after you have done that.
4.  Peel off the sticky sheet.

5. Hold the sticky sheet by the sides so your hand and fingers do not touch the sticky side.  I just turn the container onto the sticky side and let it run down half the sheet onto a coffee filter.
6.  Now you can clasp the other side which is glittered and pour the glitter onto the rest of the sticky surface.  See below.
7.  Tap any remaining glitter onto the filter which is easy to fold and pour back into the container.


8.  Burnish glittered panel with your finger..  (Rub the glitter into the adhesive, but not with a heavy hand).

9.  Take a brush and brush any glitter that may cling (which is not much) off onto the filter.


 10.  Cut the peel offs and use as is or color.  I used Copic markers, but any alcohol marker will do.  I used the angled tip, not the brush tip to paint.   These are all cut from the strip I used above.  The glitter really lasts a long time.

Thanks Arlene for sharing your mini tutorial and also for the link to Elizabeth's video.  You can see more of her videos on Youtube HERE

Dawn and the Divas

Friday, January 2, 2015

Winner and DCD Pics of December 2014


The winner of the December challenge is # 12.  

Please contact Hannah through the Die Cut Divas' email at thedcdivas@gmail.com for information on how to retrieve your prize.


True Random Number Generator  
32Powered by RANDOM.ORG

Isn't this just adorable.  SO CUTE!


Happy January 1st - NEW YEAR, NEW DAY!  
Here is Arlene's Pick

Believe me, it was so hard to pick just one. After going back and forth, I always came back to # 91, Jean Chaney with the wonderful plaid background and oh so cute image, so sweetly colored
.
Happy New Year! This is Michelle, and I'm doing this post as I watch the Rose Bowl, and as a native Oregonian-GO DUCKS! My DT pick is-

I just love the fence that opens up to the skating, just like the skate park in Lithia Park. Great coloring skills, and lovely die cuts were used. So hard to pick just one!

Hi everyone, Cathie here with my DT pick

I just couldn't go past this gorgeous little fairy and the blue and white colour scheme. It was just perfect.

Happy January 2, 2015.when we publish our picks and random drawn winner.

Thursday, January 1, 2015

Happy New Year... and a new challenge...

Happy New Year my friends.... and welcome to 2015 and our first challenge of the year. And to start the year it's ANYTHING GOES.....

Our sponsor this month is Elizabeth Craft Designs

ElizabethCraftDesigns.com


If you haven't seen the beautiful dies,embossing folders, peel off stickers, microfine glitter... then do hope over to their website and have a look around... I can guarantee you will enthralled. 

The team has been working with some of the Elizabeth Craft Design products..

From Cathie


Using Accordion Circle Die, Square with Circle Frame Edges, Elizabeth Crafts Happy Birthday, Spellbinders Nestabilities Classic Circle and Scalloped Circles, Flowers are a Sizzix and Hero Arts Stamp and Die Set.


From Marsha


Using Garden Bench die

From Arlene


From Michelle


Elizabeth Craft Designs-Rose, Embossalicious Flourish embossing folder, Unity Stamp Co. sentiment


From Dawn

Using Balloons die


So come and join us - remember that you must use your die cut machine... either to emboss or use a die cut on your project... ANYTHING GOES...